Software test report ACDSee Pro
During the times of the analog photography, people needed a lot of utensils for the administration of a large photo archive: Beginning with a light panel and a good magnifier for the image selection and evaluation of file sheets, to files or even cupboards for the storage, up to files and lists that enable the finding of a determined photography.
Today, in the digital age, the photos do not need any physical space any more but only some digital memory space. Thereby, the administration of many digital images is certainly less laborious, but therefore more important. Those who already had to search for an image in a hard disk full of unsorted images know what I am talking about.
Today, this task, thus the administration of digital images, are taken over by some so-called image administration programes. Some known representants of this genre are for example Aperture of Apple or Lightroom® of Adobe®. But also other software producers have some powerful softwares for the image administration in program. One of them is ACDSee that is widely spread since many years. In its newest version for professionals ACDSee Pro, the producer promises a professional workflow that is supposed to enable the work with large image quantities to be faster and more simple.
We have had a deeper look into this program and will demonstrate you in this test report what this software is able to do, how to work with it efficiently and which possibilities result from the large range of functions.
What does the software ACDSee Pro do?

ACDSee Pro is a full solution for the admistration, viewing, processing, editing and publishing digital images. Thereby, it is possible to work with all common file formats and also the RAW data of most of the digital cameras can be processed and transferred to online services.
Therefore, the program is subdivided into four operation modes between which the user can easily switch on to: Administrating, Viewing, Processing and Online.
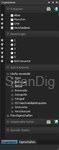
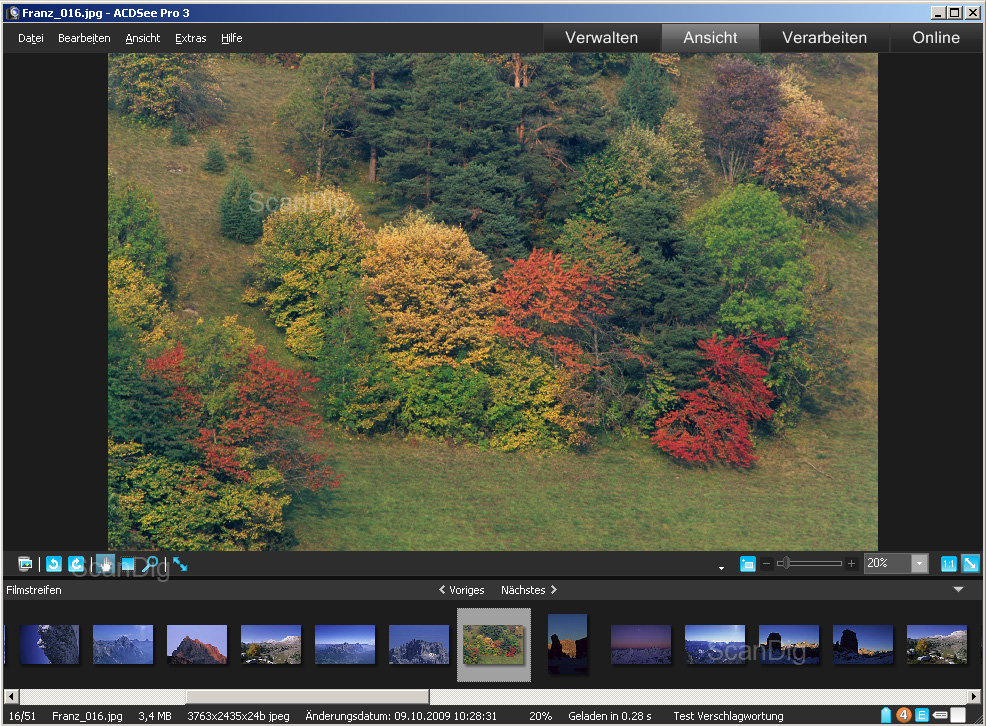
Operation modus Administration
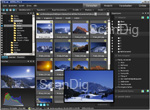
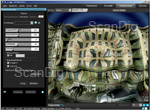
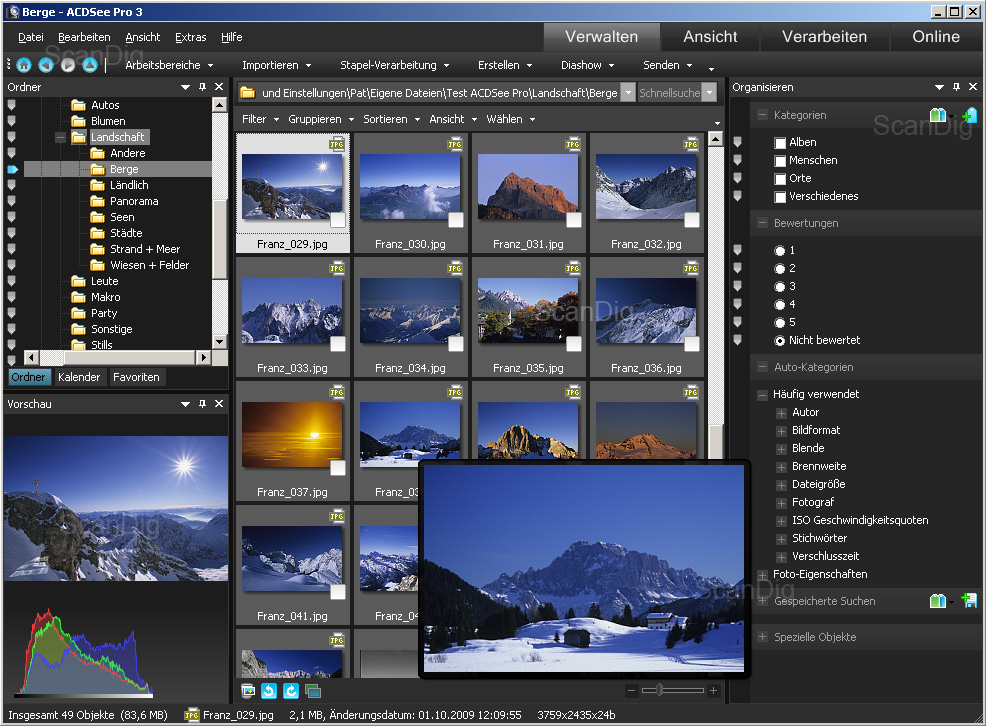
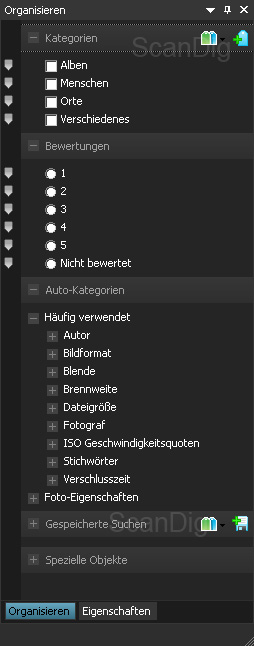
The modus Administration enables the important functions for the organization of an image file. Here, one navigates through the available saving media with the help of a directory tree. Alternatively, it is also possible to fade in a calendar display with which help one can sort and browse the images according to their date. The contence of the selected file is shown in form of a thumbnail which size is adjustable. One very nice feature is that as soon one passes the mouse over such a thumbnail, an enlarged version of the image appears. But the thumbnails do offer some more information: apart from the image and the file name, the file format is shown, and through a small icon it is possible to see whether this file has been already treaten with ACDSee.
Concerning the image administration, ACDSee considerably differs from many comparable programs in one certain point: ACDSee Pro does not apply virtual albums in which the images are organized through a linkage with the original file, but it exclusively works with the image files in their actual saving place. Whether this is an advantage or a disadvantage depends on the application of the user. However it is not possible to compile some image series without really filing them in a common folder. But on the other hand, one saves unnecessary waiting times needed for the importing of the images into an album.
With the help of a point system, in the Administration modus one can quickly and easily evaluate ones images with 0 to 5 points. By this way, the best photos of a choice can be found through a sophisticated filtering system. The filtering system enables the display of the images also according to other criteria: a determined evaluation, the assignment to a determined category or according to the marking. Unfortunately, these are already all the available filtering criterion. In this concern, other programs do offer considerably more possibilities.
The view of the thumbnails can be grouped after certain criteria, as for example the camera used, the photographer or catchwords. Also the sorting according to values as the date of issue, evaluation or film format is possible.
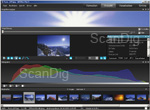
Operation modus View: viewing the images
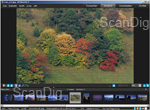
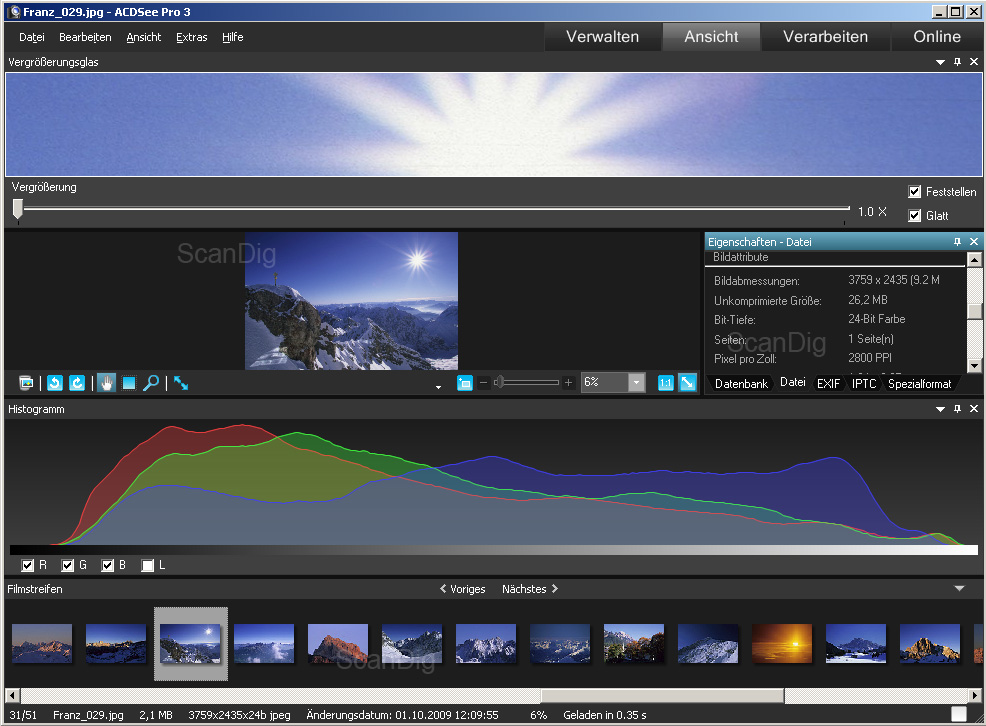
In the modus Viewing , ACDSee Pro behaves like an image viewing program: By pressing a key or a mouse-click, one can browse through each of the images within a folder. Thereby, it is possible to display also other kinds of information as the histogram, a viewing magnifier or meta data. Also a full image modus that can be combined with all available information displays is available.
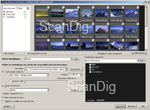
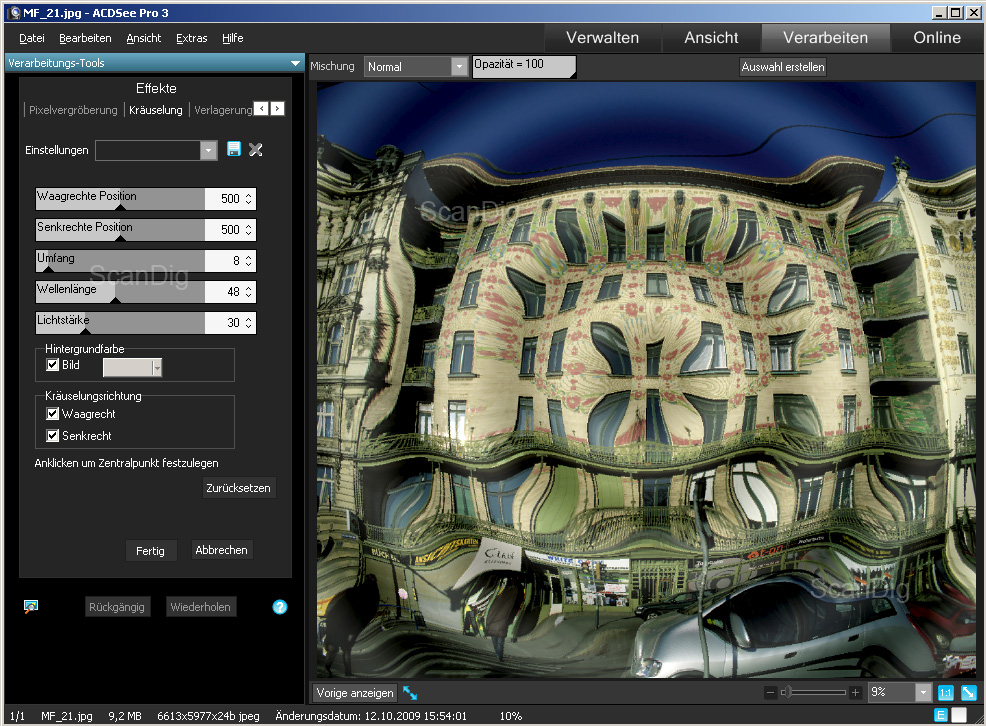
Operation modus Processing
The Processing-modus of ACDSee Pro makes a comprehensive toolset for the optimization and processing of photos available, as also for the development of the RAW-data. The application in this modus is subdivided in two areas: Developing and Processing.
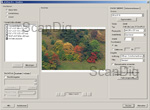
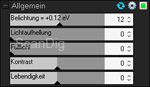
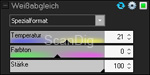
In the area Processing it is possible to accomplish some global image corrections without any loss. This means that all modifications are saved into a separate file, while the original one remains unchanged. By this way, all modifications accomplished can be adapted afterwards - the adjustments of the respective tools are kept and can be modified afterwards without any loss in the quality. The functions are again subdivided into three tabs: the tab Adjustment contains all important tools for the correction of the colour and exposition in the image. The controls for the brightness and contrast, Weißabgleichwhite balance, illumination, colour shade/saturation as also the gradiation curves are part of it.
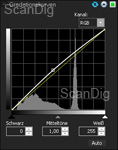
Unfortunately, some of the tools cannot be applied precisely, as for example the gradation curves: the numerical in- and output values are not displayed and therefore cannot be precisely determined respectively. This tool is much too unprecise for the fine corrections. Also the adjustment of the exposition with the three controls Shade, Mid tones and Lights is only roughly possible: Each of the controls comprehend a very large area of the tonal value that is not possible to determine individually. This means that, for example, the Shade-control not only takes influence on very low tonal values but also goes far into the area of the mid tonal values. But ok, ACDSee in dit does not pretend to be a professional image processing software, neither it is supposed to replace a high valued RAW-converter.
The Detail-Tab has some tools for sharpening (unsharp masking) as also for the reduction of the image noise. While the function unsharp masking has the three common controls Strength, Radius and Threshold values, the noise reduction is only adjustable in a limited way: here, there is only one control for each, the noise reduction for the luminance noise and he one for the colour noise. A channel-wise adaption of the parametres is not possible.
With the tools of the tab Geometry, it is possible to correct the distortions of the objective, turn the image, deform it perspectively and cut to size. Unfortunately, a correction of the vignettings is not possible.
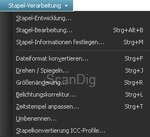
The area processing puts some tools at the user´s disposal for the pixel-based processing. The modifications made here are lossy and in contrast to the developing tools, they are straightly applied on the picture, which means some image information is straightly modified so that latest after ending the program, these modifications cannot be undone anymore. The tool pallet that is shown in text form puts many simple tools at the user´s disposal such as the Red-eyes-reduction, the adding of text and watermarks as also the rotation and reflection of the images. For the conversion of RGB-images in black and white, the command convert in black and white is at the user's disposal, with which help one can control the share of each of the colour channels in the black and white image over a slide control. A comprehensive filtering gallery enables some spectacular special effects. Moreover, there are also many tools from the range developing, but in this case they do straightly modify the image information, thus contrary to the tools prevailing there, they cannot be applied in a lossless way.
Once satisfied with the result, the processed image can be saved in all common image formats, thereunder also JPEG 2000, the Photoshop® PSD format and even also Wireless BMP. Over the command Exporting, one can even convert an image simultaneously into up to three different file formats for each it is possible to specify different resolutions.
Batch processing

ACDSee Pro also offers a large choice of functions for the automatic processing of several photographies. By this way, it is possible to process and "develop" some complete photo series automatically. This makes sense, for example, if the user wants to provide a basic correction to all his RAW data. But therefore, one first has to develop an image exemplary and then save the adjustments. One can then determine in the appearing dialogue box which of the adapted parameters should be saved and applied on the next images. At the end, one assigns a name to the pre-adjustments and can then assign them to as many images as one wants in the modus Administrating.
Apart from the batch-development, there are many other functions that can be applied in a batch modus: convert the file format, rotating/reflecting, correction of the exposition, adapt the time stamp, rename and convert the ICC-profile. Moreover, the image information can be determined for a any quantity of images in the batch modus.
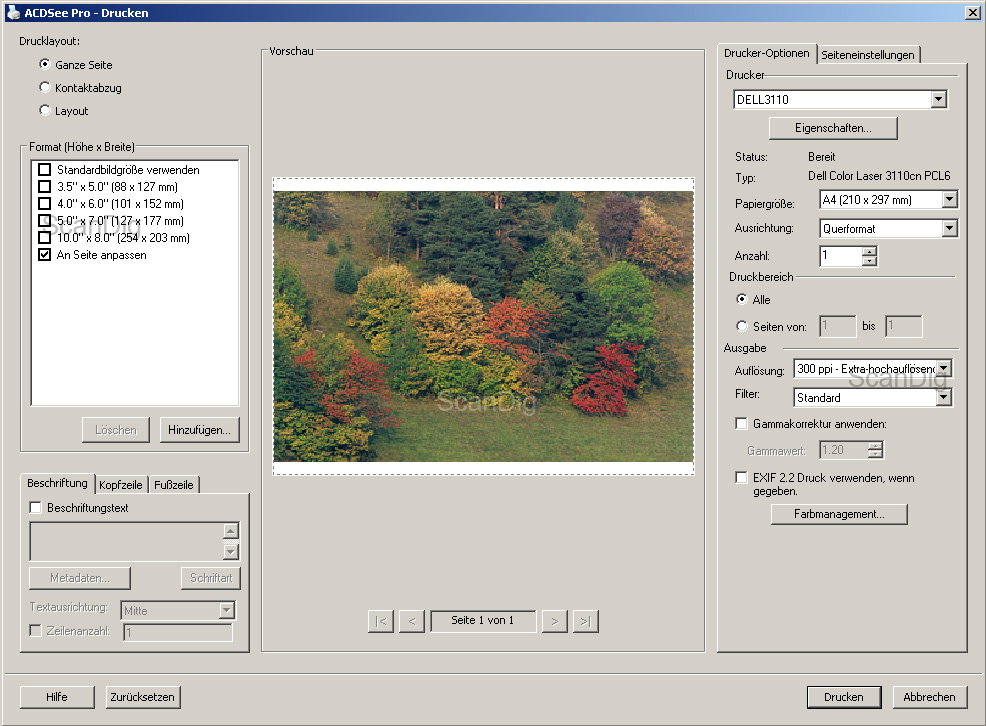
Printing
ACDSee Pro offers some practical tools for the printout on a local printer. By this way, it is not only possible to print out some single images freely scalable and positionable, but there are a total of 10 templates available for some finished layouts: beginning from a printout of up to nine images in passport photo size to four images sized either 9x12cm or three sized 10x15cm up to a full page printout with or without trimming in case of not matching aspect ratios. Moreover, there is an automatic contact sheet-function: Here, one determines the quantity and the size of the images that should be print by determining the number of lines and columns and also which additional information should be also printed out.
Unfortunately, no crop marks can be integrated, a thing that results specially annoying concerning the maximum exploiting of the paper surface for the layout of several images.
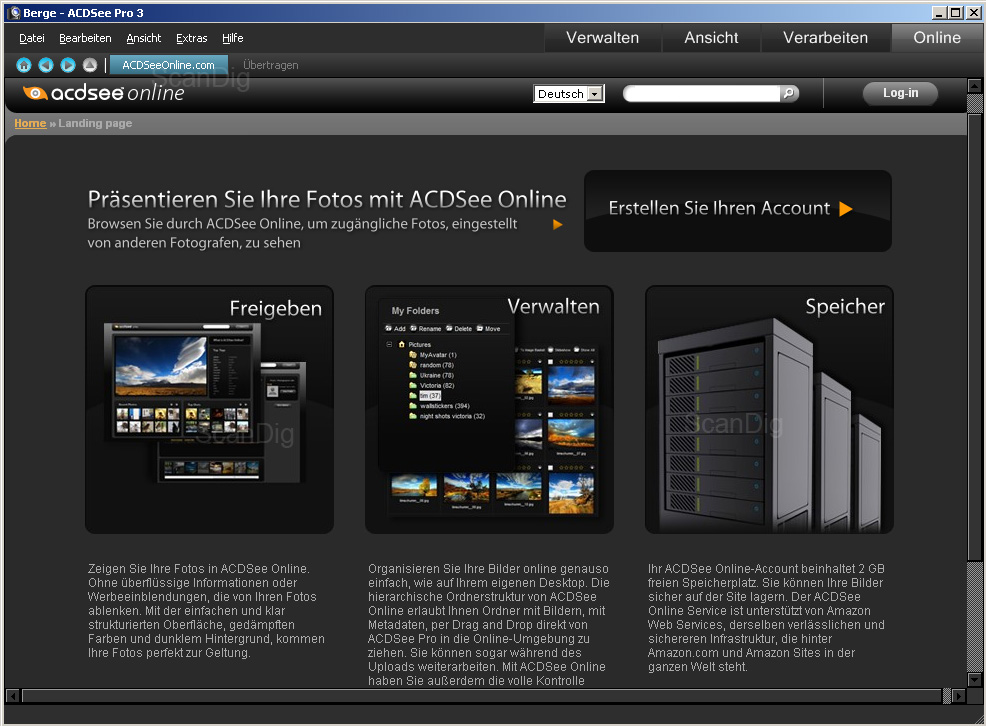
Publishing
ACDSee offers to all its buyers an account on the ACDSee online-website that is free of charge for them and on which they can present their images. By choosing the Online-modus, one can first open an account and then upload the selected images. These are then visible for the interested viewers on the ACDSee online website.
ACDSee Online is an internet portal for presenting images but should be rather considered as a method for customer loyalty.
Cataloguing in the data base
For the simple organization and the fast processing, ACDSee Pro catalogues the images in an internal data base. The images are automatically catalogued by opening the respective folder. But one can also intentionally insert the images in the data base by choosing one or several folders for the cataloguing over the command Cataloguing data... in the menu Extras under Data base.
It is possible to save some information in the data base as for example the evaluation of the images or the assigned category. By standard, the images are subdivided into the categories albums, people, places and miscellaneous; additionally, it is possible to define any number of own categories. Moreover, in the data base there are thumbnails stored of the catalogued images, so that ACDSee can display them quickly without having to select first the large original files.
The organization in a data base offers the possibility to transfer it to another computer in order to put there all the adjustments and the entries at the disposal.
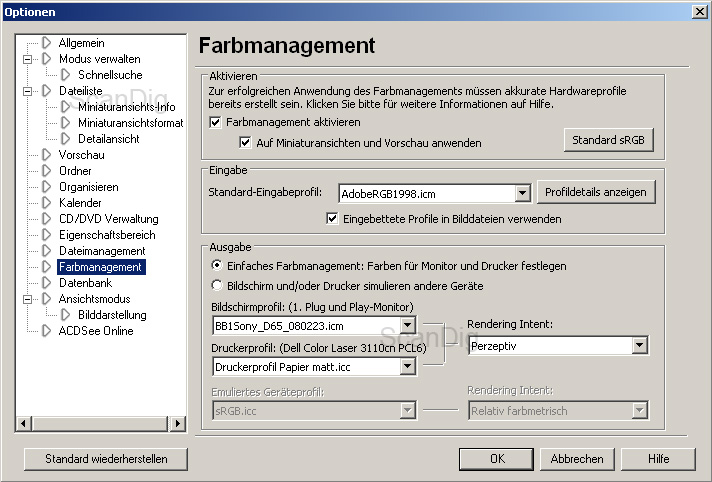
Colour management in ACDSee Pro
Principally, ACDSee Pro dominates the treating of colour profiles; but it is only possible up to certain limitations. The biggest limitation results from the fact that the colour space conversion is only ppossible with the RAW data. Concerning the images of other file formats, it is either possible to assign them a standard-colour space that was determined in the pre-adjustments, or, if the case is given, it is possible to keep an embedded profile.
It is not possible to assign an input profile individually, and also the output profiles can only be applied during the printing straight out from the ACDSee. This is very annoying if, for example, one wants to provide the matching profile to an image, for example for the passing on to a photo laboratory.
The user surface of ACDSee Pro
The user surface of ACDSee Pro can be highly adapted to the user's requirements. It can be freely defined to a large extent which control elements represent the respective modus. The surface is coloured in a modern dark grey that is senseful for the work with photographies, as the way it is known by programes as Adobe® Lightroom®. Principally, the user surface is structured as follows:
Beside the menu, the menu bar also shows at the right the fields for the modus selection with which help one can switch between the following modes: Administrating, View, Process and Online. The display of the area underneath this depends on the adjusted modus.
In the modus Administration, there is a tree directory at the left side and right underneath it, a preview of the just selected image. The bigger space in the centre is taken by the folder that has been selected from the tree directory as a thumbnail. Beside the image itself and its file name, it is possible to display more information by means of many different icons, as for example if the image has been already developed, if it has been catalogued, which file format it is and much more. At the right beside the thumbnail area, all possible file and image information can be displayed and modified, thus also the data base inputs for the organization of one's images.
The modus View enables the user to quickly browse through the images of the file selected in Administration. Thereby, the image can be either displayed in the full-screen modus or in a window. In both views, some different kinds of image information can be displayed. These are, amongst others, a histogram, a magnifier and file information. One can switch between the images with the arrow keys.
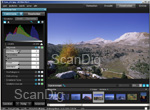
By choosing the modus Processing, the selected image takes a big part of the surface. At the left side of the image there are the tools for the image processing with the tabs Develop and Process, and at the lower image edge there is the so-called Film Strip with thumbnails of the image files contained in the current folder.
Working with ACDSee Pro: example of a typical workflow
As an image processing software, ACDSee Pro enables a workflow that is designed to provide the photographers a fast overview of their image archives, to expand it with new images in a comfortable way and to optimize them effectively. With ACDSee Pro it is possible to work in many different ways. In the following text we would like to describe an exemplary workflow that will result in the case of the users of this software in this way or similarly:
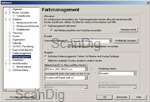
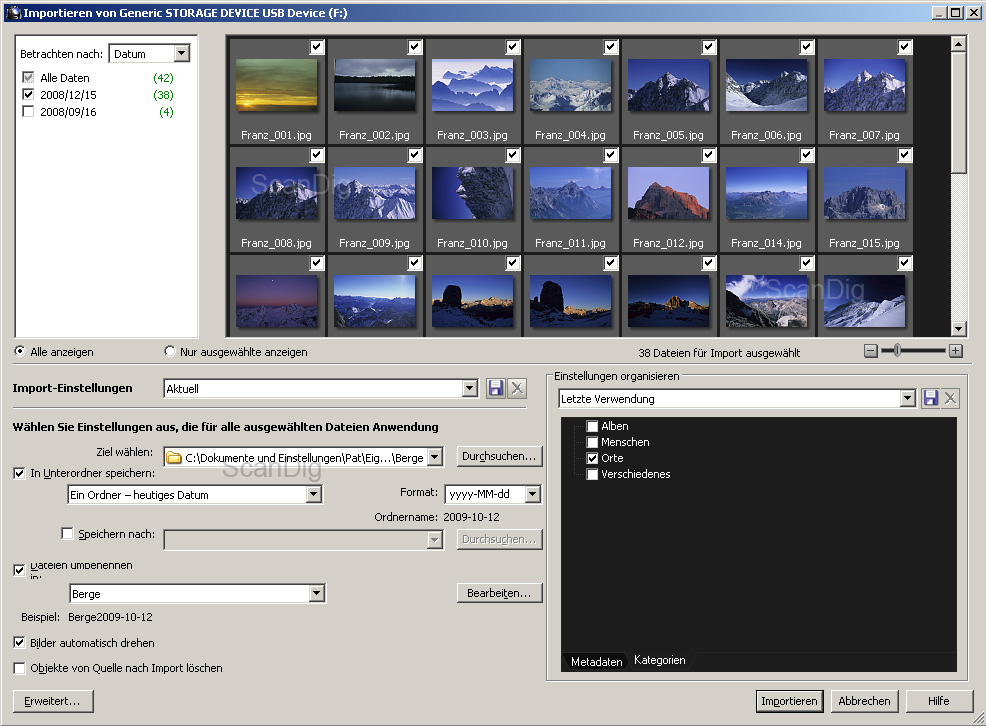
Let us assume we just arrived from a lovely excursion to the mountains. The memory card of our camera is brim full of pictures with some excellent motifs that we discovered during our hiking tour. Thus we put the memory card into the card reader and the ACDSee device detector already appears. We opt for importing the pictures with ACDSee and then a window appears in which we can set the necessary adjustments for this. As in the card there are still some pictures from the last party of the week-end that we prefer not to look at, we choose the display according to the date and deactivate those dated on the mentioned day.
As the next step we choose the destination folder in which the pictures should be saved. As we already have been several times out to the mountains with the camera, we choose the already existing folder "mountains". But in order to make clear which pictures are the new ones, we activate the checkbox for save in subfolder and for the folder name we choose the option one folder - date of today. Therewith, all pictures that are transferred now to the hard disk are saved in the folder "mountains", and there, in the subfolder with the date of today. In order to get some names that also have a characteristic and provide more information than a simple enumeration of the camera, we activate by means of the checkbox the option rename files in, and issue here a template for our photos. As we had been on the mountains, we first name the file "mountains" and add then the date of issue, followed bzy an underline and a three-digit file number that we insert with the help of three hashes, thus: mountains2009-10-09_001, mountains2009-10-09_002, ...
We have made some of the pictures in portrait format - of course, we want to see them in the right alignment. As our camera has a respective sensor, we activate the option rotate images automatically, so that during the import, the portrait pictures are automatically correctly aligned.
Last but not least, we assign the category Places to the images, so that they are listed in the data base of ACDSee under this category. As our intention is to make some more times pictures of the mountains, we save these adjustments so that after the next tour we can simply select them and do not have to redo them.
After clicking on import we answer the question whether we want to view the picutres with ACDSee by saying yes, and are therewith in the modus administer of ACDSee Pro. Here, we see an overview of all the image files that have just been imported. We get a first overview of the pictures: By looking at some images, we immediately see that due to some errors in the exposition and the wrong focusing, they are useless. We mark these images by clicking on the respective check box. Once all useless images are marked, we select them either over the menu Process with the command select marked files or with the key combination Strg+^. After that, we press the key remove, and after confirming this, the images are deleted.
Now we can concentrate on the rest of the images. But we do not want to see only the small thumbnails, thus we double click on the first image and end up in the View-modus. We turn to full-screen and activate the histogram display and the magnifier. Therewith, we can check the exposition and control the sharpness of the details at once. We can navigate through all images with the arrow keys. Thereby, we come across to one image that we specially like. But this image needs a little rework, as it is a little too much dark and also a little bluish that resulted from a white balancing that was not correctly done. As we have done the pictures in the RAW-format, these corrections can be easily accomplished without a loss of quality. Therefore, we switch to the Process-modus.
We first concentrate on the image brightness: As in the RAW-files there is some image information also in the dark areas of the image, we brighten the image over the Exposition-control of the range General. In order to assure that we do not cut off the lights during this action, we activate the option show trimmed lights and shades by clicking on the exclamation mark-symbol located over the histogram display or with the key E. If we now elevate the exposition too strongly, we see in the shades which pixels get the tonal value of 255 in at least one channel. Thereby, the colour of the shades corresponds to the channel or channels in which this value is achieved. We adjust the exposition in such a way that only the highlights of the reflections in the snow are trimmed.
But the image is still a little much too dark. Thus, we apply the gradation curves: We take the RGB-curve at approximately the middle and move it a little upwards. Thereby, the mid-tones are brightened, while the black and the white point remain the same. Now, the image has the desired brightness.
Now we have to remove the bluish element caused by the wrong white balance. Therefore, we simply move the Temperature-control of White balance in the yellow direction and the image immediately presents a balanced colourfulness.
Last but not least we make a JPG-file from the RAW-file so that we can reproduce the image with any software and with any device. Therefore, we click on Save and select Save as.... In the now appearing dialogue box we set the jpg-format, create a subfolder named "processed" and save there the processed image.
Due to the reason we specially like this image, we want to print it out in the biggest size that is possible in our A4-printer. Therefore, we open the dialogue Print image, and select Adapt to page. As a paper size, A4 is already determined, we additionally choose the alignment Landscape that matches to our picture and select 300 ppi as output resolution for a specially high-resolution printout. By clicking on the Print-button, the output starts and shortly afterwards we have a beautiful paper picture in our hands that we can hang on the wall or give away.
Strenghts and weaknesses of the software ACDSee Pro
ACDSee Pro enables a workflow that is fully tailored to the requirements of the photographers: Starting from the import of the pictures to their organization, processing, editing and even publication, all these steps can be accomplished within a program that has an intuitive and clear surface. Thereby, the possibility of the lossless processing over the develop-modus is a big advantage: It is possible to accomplish afterwards an adaptation of all adjustments done without any reduction of the image quality.
The weaknesses in the fine adjustment of the image corrections can be tolerated, as therefore, it is anyway better to apply a specially dedicated image processing software. The lack of functionality in the colour management to the contrary, is a big weakness of ACDSee Pro. As this software is supposed to be a full package for the photo workflow, these limitations are decisive: One does not always want to edit the images in the own printer - many times, the engaged hobby photographers and specially the professional photographers do give their pictures to a third person for the printout or for the exposition on photo paper.
Who needs ACDSee Pro?
ACDSee Pro focuses on engaged hobby photographers who have to handle large quantities of images. As specially now in the era of the digital photography, large quantities of images are created soon, an image processing software is indispensable for the mentioned target users. The software is recommendable for everybody who mainly photographs in the JPG-format and only occasionally wants to edit them in the own printer.
Due to the above mentioned weaknesses in the colour management, the software is only conditionally apt for professional photographers. The area of appliance is mainly at home where, given the case, the finished images can be edited in the own printer.
Resume, conclusion
ACDSee Pro is a comprehensive software at a surprisingly low price. Those who do large quantities of digital images, want to build up a well organized photo archive and also occasionally want to put their images on paper on their own will be well served with this programe. But those who mainly photograph in the RAW-format and therewith attach importance to some comprehensive possibilities of correction during the conversion, will not avoid to have to acquire in addition to the ACDSee Pro an additional RAW-converter. Those photographers who attach importance to an unlimited colour management functionality should better look for some alternatives.
Thus, altogether it can be said that the software is very recommendable for a main part of the announced target group, thus for engaged hobby photographers who photograph in the JPG-format and occasionally edit their pictures in their home ink jet printer.
Back to the index software tests
|

)
)
)
)
)